
You can install WordPress in under five minutes using a one-click hosting tool, manually via FTP for full control, or locally on your computer for free testing. This guide walks you through all three methods, explaining the prerequisites and exact steps for each approach so you can choose the right path for your project.
What You Need Before Installing WordPress
Blogs Wizards
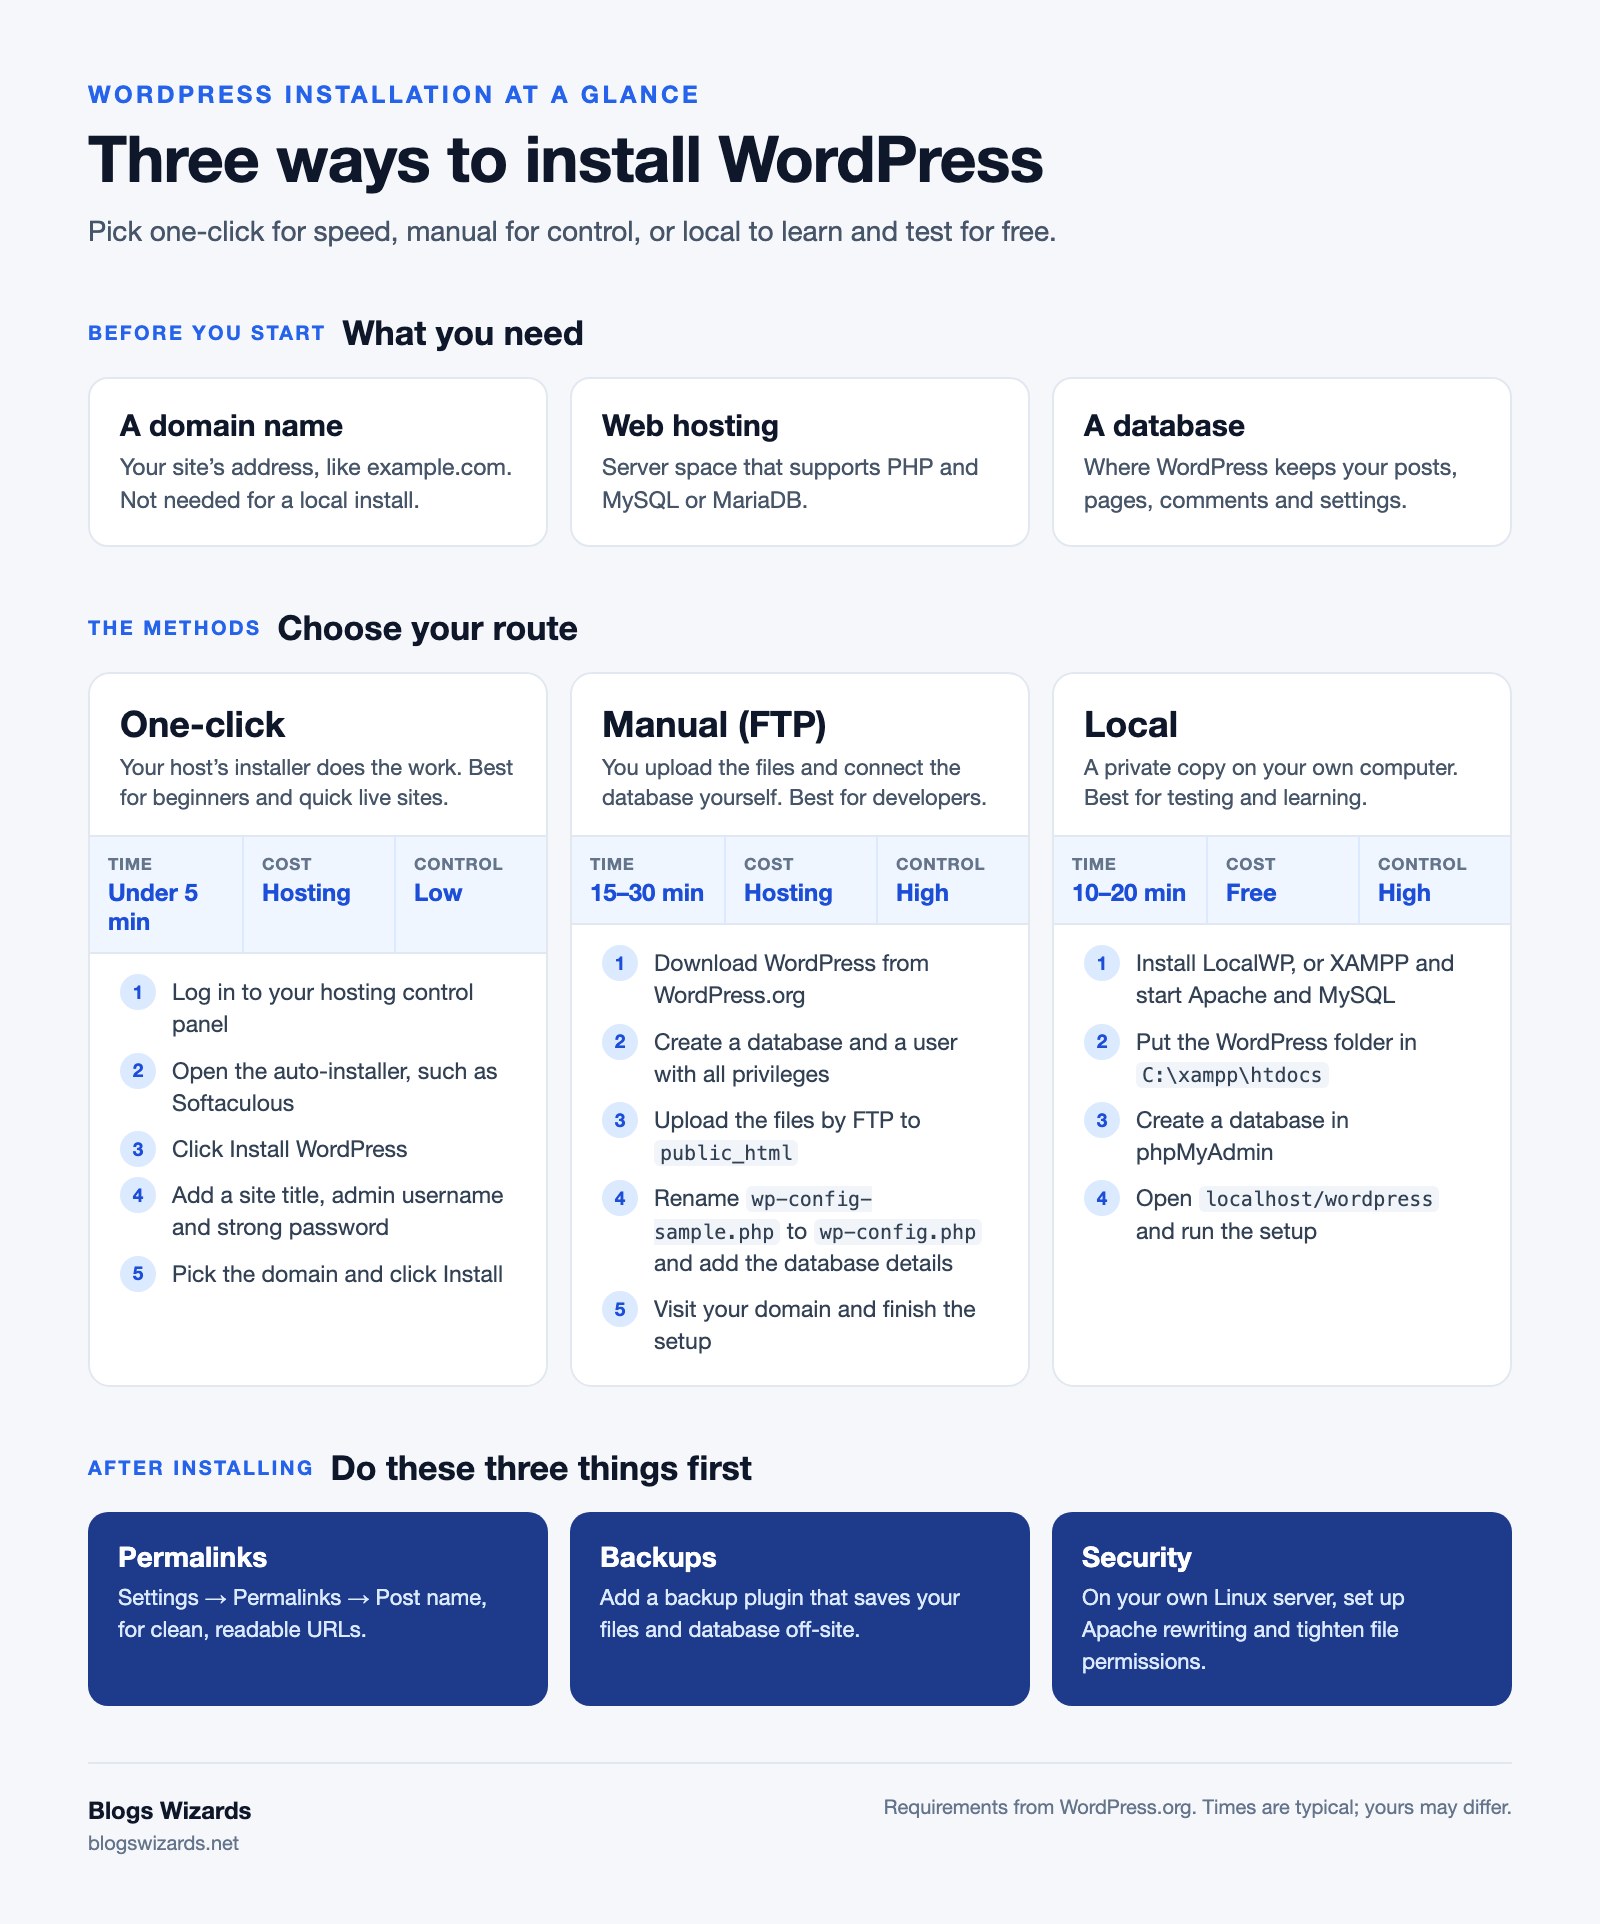
A successful WordPress installation requires a domain name, a web hosting account with PHP and MySQL (or MariaDB) support, and a database. These three components form the foundation of your site, allowing the software to store content and serve it to visitors on the internet.
Your domain name is your website’s address (like example.com), while web hosting is the server space where your files live. Before you begin, ensure your chosen provider offers web hosting with PHP and MySQL support, as WordPress is built on these specific technologies.
The database is where WordPress stores all your posts, pages, comments, and settings. Without it, the software has nowhere to save your content. Most hosting providers include database creation tools in their control panels, making this step straightforward even for beginners.
How to Install WordPress with One-Click Hosting Tools
Blogs Wizards
One-click installation is the fastest method for beginners, using automated scripts provided by your web host to set up the software and database simultaneously. This approach bypasses manual file transfers and database configuration, making it the preferred choice for most new website owners launching their first project.
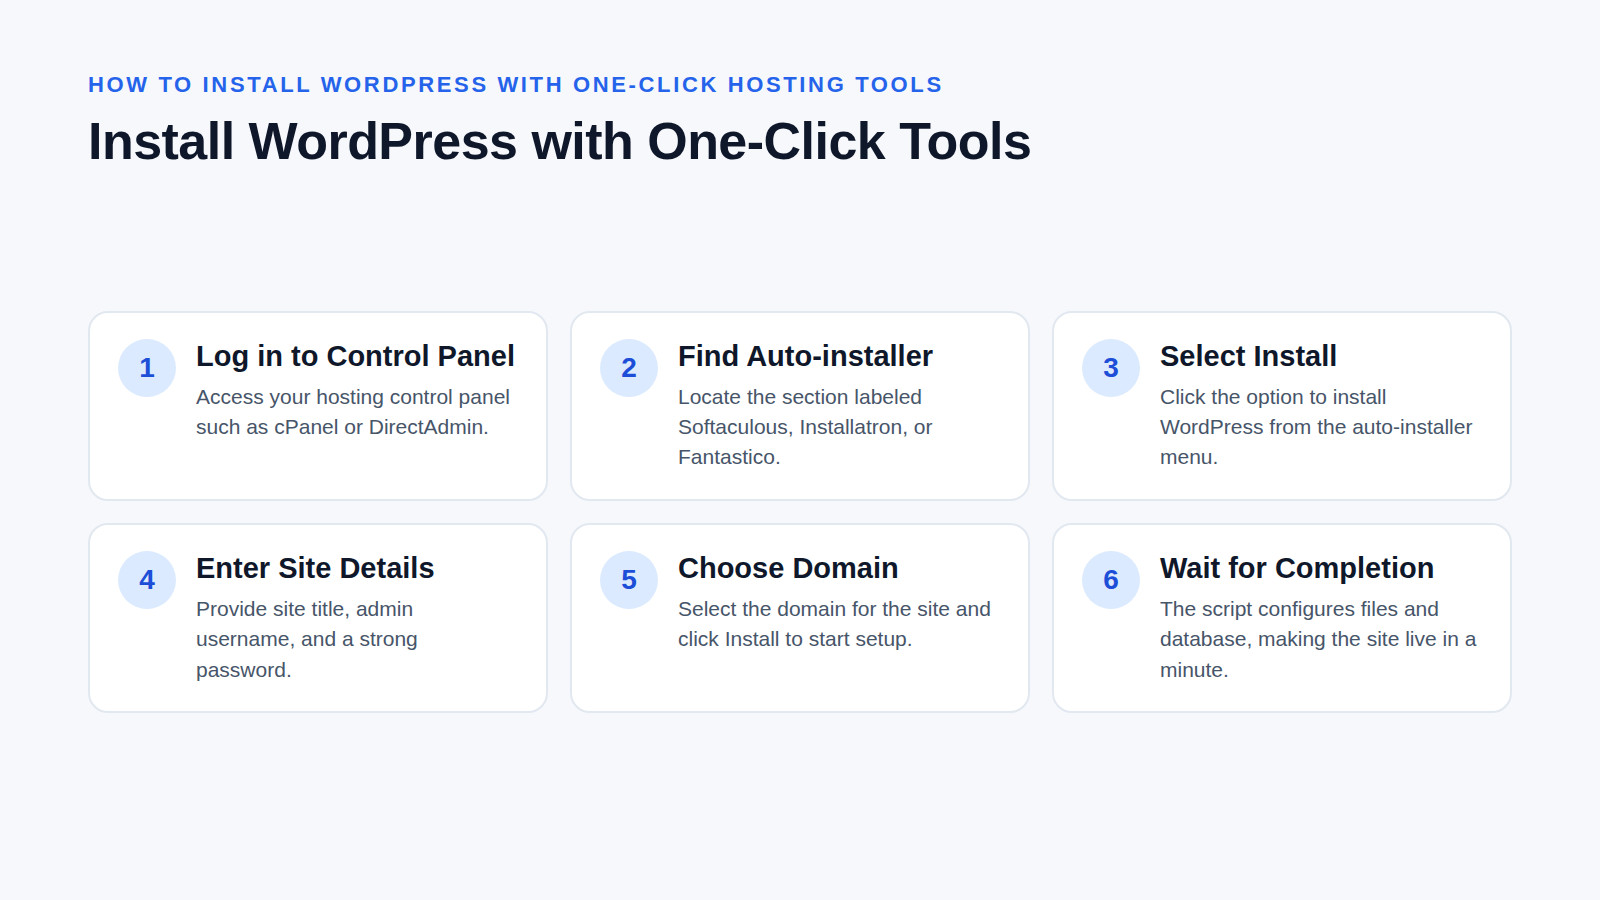
Most modern hosting control panels, such as cPanel or DirectAdmin, include auto-installers like Softaculous, Installatron, or Fantastico. Here is how to use them:
- Log in to your hosting control panel.
- Locate the auto-installer section (often labeled "Softaculous" or "WordPress").
- Click Install WordPress.
- Fill in your site details, including the site title, admin username, and a strong password.
- Select the domain where you want the site to live and click Install.
The script automatically downloads the core files, creates the database, connects the configuration file, and runs the setup. Within a minute, your live site is ready for you to log in and start designing.
How to Install WordPress Manually via FTP
Manual installation requires downloading the core files, creating a database, and uploading the files via FTP, giving you complete control over the server directory structure. This method is ideal for developers or when automated installers fail, ensuring you understand exactly how the software connects to your database.
For a deeper dive into server requirements and edge cases, review the detailed manual instructions in the official developer handbook. Otherwise, follow these steps:
- Download WordPress: Go to WordPress.org and download the latest ZIP file.
- Create a Database: In your hosting panel, navigate to MySQL Databases. Create a new database, create a database user, and assign the user to the database with all privileges. Note down the database name, username, and password.
- Upload Files: Extract the ZIP file on your computer. Use an FTP client (like FileZilla) to upload the extracted contents into your server’s root directory (usually
public_htmlorwww). - Configure the Database Connection: Find the
wp-config-sample.phpfile in your uploaded files. Rename it towp-config.php, open it in a text editor, and add your database details where indicated. - Run the Install Script: Open your web browser and navigate to your domain name. WordPress will detect the configuration file, test the database connection, and prompt you to choose your language and create your admin account.
How to Install WordPress Locally on Your Computer
Blogs Wizards
Installing WordPress locally creates a private, offline development environment on your own machine, allowing you to test themes, plugins, and code changes without affecting a live website. This free approach is essential for developers and beginners who want to experiment safely before deploying to a public server.
When choosing your local server software, note that LocalWP is the easiest option for complete beginners, while XAMPP offers full control for multiple PHP projects.
"Why don’t you build everything on your own computer first—for free?" — Sami Biz Blog
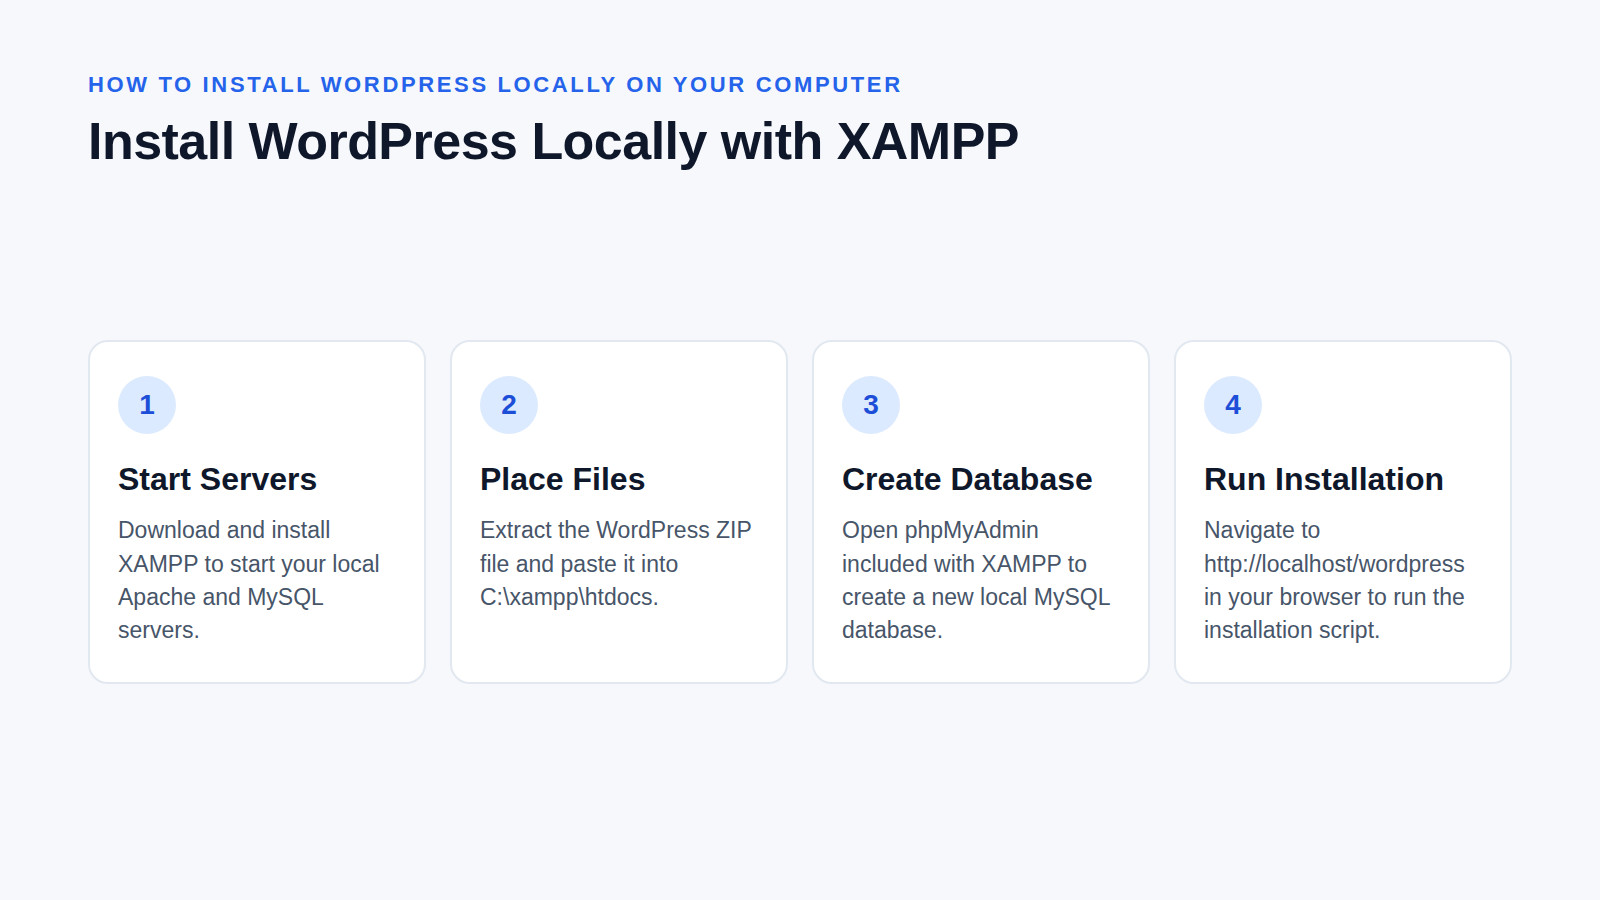
If you choose XAMPP for a complete walkthrough on installing WordPress on Windows, ensure your local machine meets the necessary PHP and MySQL prerequisites. The general process involves:
- Downloading and installing XAMPP to start your local Apache and MySQL servers.
- Extracting the WordPress ZIP file and pasting the folder into your web server’s root directory (e.g.,
C:xampphtdocs). - Opening phpMyAdmin (included with XAMPP) to create a new local MySQL database.
- Navigating to
http://localhost/wordpressin your web browser to run the standard WordPress installation script.
Comparing Installation Methods for Your Specific Needs
Blogs Wizards
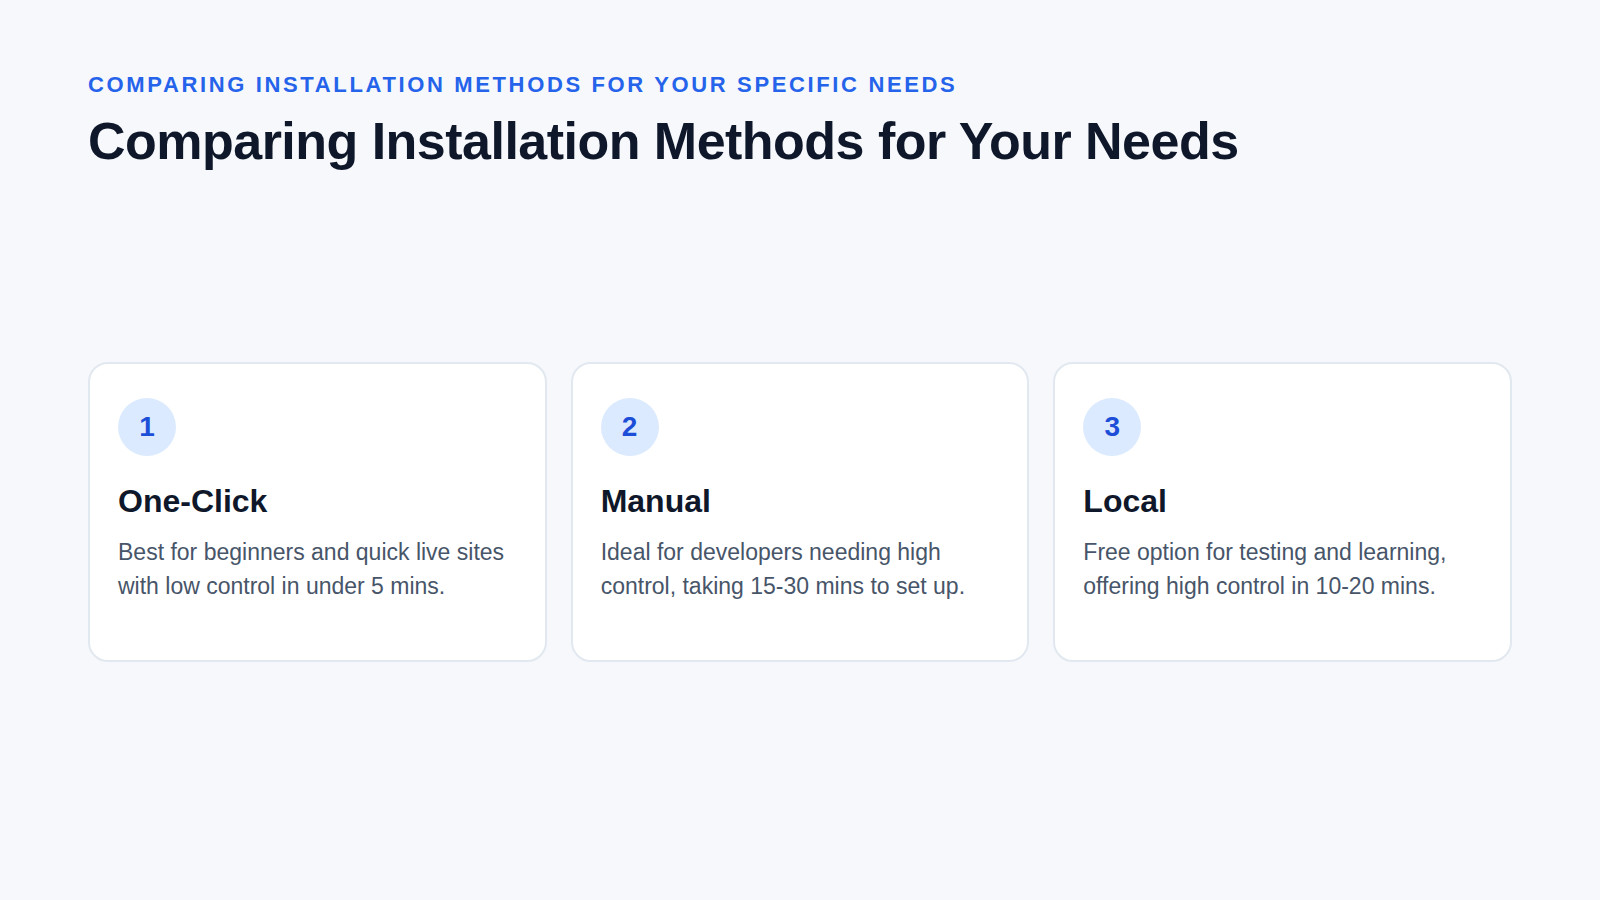
The choice between one-click, manual, and local installation depends entirely on your technical comfort level, project requirements, and whether you need a live public site or a private testing environment. Each method offers distinct advantages in speed, control, and cost, making them suitable for different stages of your journey.
| Method | Best For | Cost | Control Level | Setup Time |
|---|---|---|---|---|
| One-Click | Beginners, quick live sites | Hosting fee | Low | < 5 mins |
| Manual | Developers, custom server setups | Hosting fee | High | 15-30 mins |
| Local | Testing, learning, development | Free | High | 10-20 mins |
Agencies and freelancers building client sites should heavily utilize local installations to stage designs and test plugin compatibility without incurring hosting costs or risking live site downtime. Conversely, small business owners launching a standard brochure site will save immense time by relying on their host’s one-click installer, allowing them to focus on content and design rather than server configuration.
Essential Next Steps After a Successful Installation
Post-installation configuration requires you to set up your permalink structure, install a backup plugin, and apply basic security measures to protect your new site. Skipping these foundational steps leaves your website vulnerable to errors, data loss, and security threats before you even publish your first post.
First, navigate to Settings → Permalinks in your WordPress dashboard and select Post name. This ensures your URLs are clean, readable, and optimized for search engines, rather than using default numeric structures.
Next, install a reliable backup plugin and configure it to save copies of your database and files to an off-site location like cloud storage. If you are managing a Linux server environment, you will also need to configure Apache for WordPress to handle URL rewriting properly and secure your file permissions.
Frequently asked questions
How to install WordPress step by step?
Manual WordPress installation requires downloading the software, creating a MySQL database, uploading the files via FTP, and running the setup script in your browser. For a faster approach, use your hosting control panel’s one-click installer to automate the database creation and file upload process entirely.
Can I install WordPress for free?
Installing WordPress for free is entirely possible by setting up a local development environment on your own computer using software like LocalWP or XAMPP. This offline method costs nothing and is perfect for testing themes, practicing with plugins, and learning the platform without paying for web hosting.
Is WordPress still worth it in 2026?
WordPress remains highly relevant: it powers 38.5% of all websites, and 57.4% of those whose content management system is known, according to W3Techs. Its extensive plugin ecosystem, flexible theme options, and strong community support make it a reliable choice for blogs, business sites, and e-commerce stores in 2026 and beyond.
How do I install WordPress on my PC?
PC-based WordPress installation involves downloading a local server application like LocalWP or XAMPP, extracting the core files into the server directory, and creating a local database. Once configured, you simply navigate to your local host address in a web browser to complete the setup.
Reviewed by Shahid Anwer · Editorial standards
